Verify an email identity at application level
To send email, an application requires a verified email identity. An email identity is an email address which has been verified and thus authorized to send email on behalf of your application. You may add and verify multiple email identities for each application.
Web UI
To verify an email identity through the Web UI interface:
-
Sign in to the SBS Console.
-
In the left-hand side navigation menu, click Applications.
-
Click the application to which you would like to add the email identity.
-
Click the E-mail tab.
-
Click the
 button in the top-right corner of the email identities table. A dialog box appears.
-
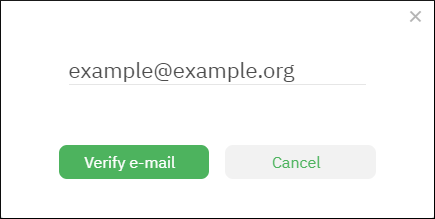
Enter a valid email address and click Verify email. The email identity now has PENDING status.
-
Check the email inbox for any incoming email. You should receive four email messages that provide a verification link.
Three email confirmations are for the three different regions in the Amazon Web Services (AWS) global infrastructure. SBS relies on AWS regions in order to provide high availability. The fourth email confirms the SBS application as a valid sender to use in the “from” field when sending email. -
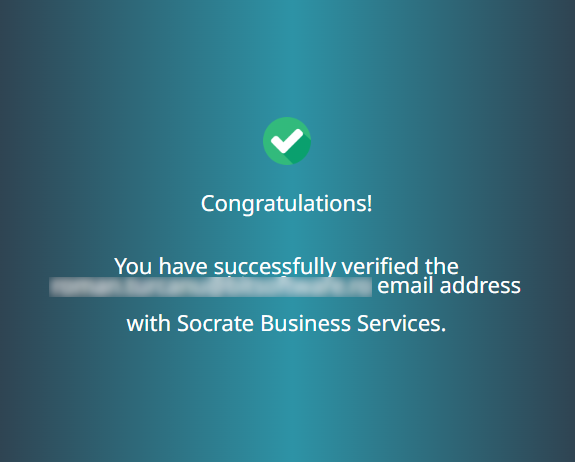
Click each verification link in order to complete the verification of the email identity. Upon successful verification, you will be presented with a dialog box similar to the one below:

Separately, the status of the email identity will be updated from PENDING to VERIFIED in the email identities table. Note that this is not an immediate process; you should allow approximately one hour for the status to be updated.
GraphQL
To verify an email identity through the GraphQL interface:
- Sign in to the SBS Console and click the GraphQL tab. Alternatively, access the Account API programmatically from your own GraphQL development environment.
- Run the
verifyEmailIdentitymutation and supply the email address to be validated as input.
mutation verifyEmailIdentity($appId:ID!,$address:EmailAddress!) {
  verifyEmailIdentity(appId:$appId,address:$address) {
    address
    status
  }
}
{
    "appId": "YOUR_APP_ID",
    "address": "YOUR_EMAIL_ADDRESS"
}
- As a result, you will receive four email messages at the specified email address. For each of the received email, click the confirmation link. This authorizes the corresponding inbox to send email through the Email Service API. The reason for the four email messages is the same as described above for the Web UI.
To view the current status of email identities (verified or pending verification) for a particular app, run the following query:
query app($id:ID!){
  app(id:$id) {
    id
    name
    emailIdentities {
      address
      status
    }
  }
}
{
    "id": "YOUR_APP_ID"
}