Basic setup
Now that you have all the basic information to get started, it’s time to configure your SBS account for real-world usage.
Creating applications
Let’s begin by creating a new application.
-
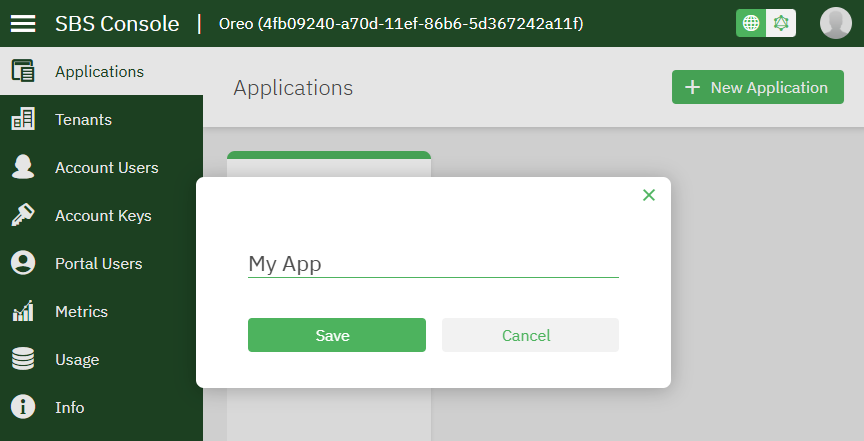
In the Applications page, click New Application.
-
Enter the name of your application, and then click Save.
Creating tenants
Now, let’s create a new tenant.
-
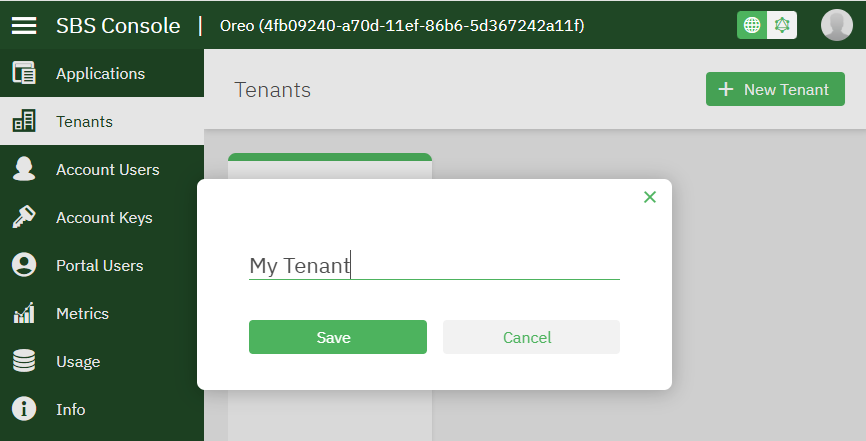
In the Tenants page, click New Tenant.
-
Enter the name of your tenant, and click Save.
Generate a service access key
Now, let’s generate a new service access key that will allow the tenant and application you created earlier to access the SBS API.
-
In the Tenants page, select the tenant you created earlier.
-
Click the Add
 button in the top right corner of the service access keys table.
 -
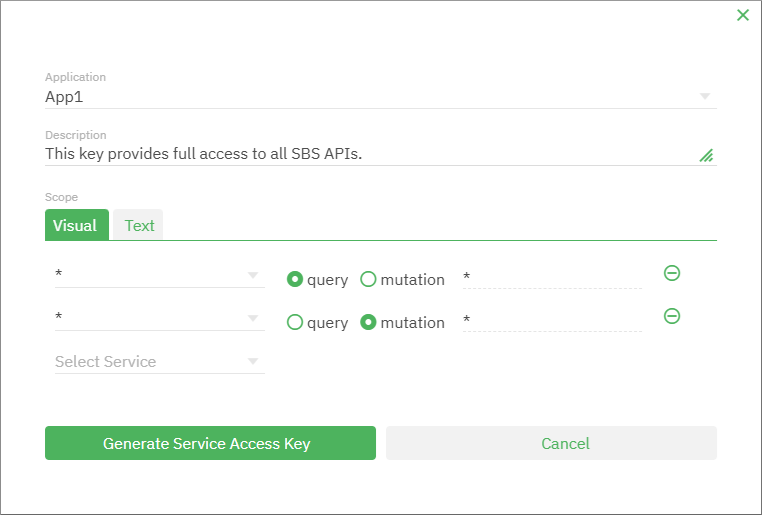
Under Applications, select the application you created earlier.
-
Optionally, enter a key description.
-
Under Scope, enter the extent of permissions available to the bearer of this key. To keep things simple, let’s create the key with the full set of permissions. You can edit the key’s permissions later if necessary. This key will provide access to all queries and mutations of any SBS service. Here, the terms “queries” and “mutations” are used as in GraphQL: a query retrieves API data, while a mutation modifies API data.
-
Click Generate Service Access Key.
-
Click View Secret Key and copy the secret key.
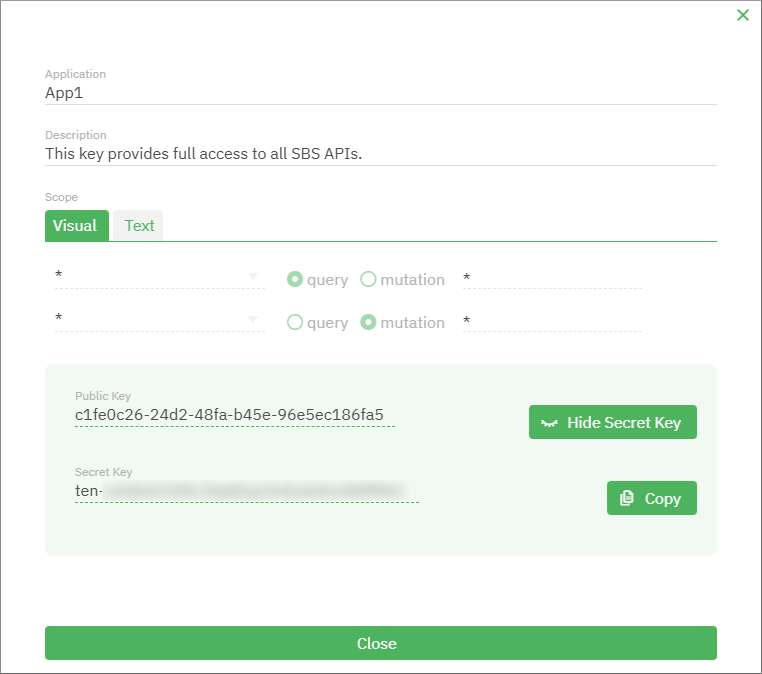
You can now use the secret key in your server applications to call any SBS service, as you will see in the next section of this tutorial.