SBS Accounts
An SBS account isolates all the apps, tenants, and service access keys of an organization under the same umbrella. Also, it is the billing point for usage of SBS.
Each time you sign in to the SBS Console, your current SBS account name is displayed at all times in the top application bar, for example:

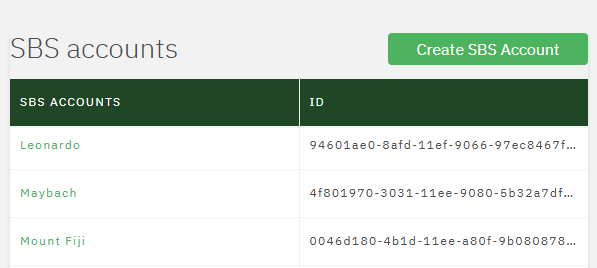
If you have access to multiple SBS accounts, then you must choose the SBS account that you would like to work with before you can proceed, for example:
If you are the first user to set up SBS for your organization, you must create an SBS account before you can start creating your organization’s apps, tenants and access keys. You can later invite other users in your organization to this account.